Restoring Old Furniture: A Labor of Love
Restoring old furniture is not only a way to breathe new life into forgotten pieces, but it is also a rewarding and fulfilling project. It allows us to bring back the charm and character of a forgotten era while showcasing our craftsmanship and creativity and having something truly one-of-a-kind. In this blog post, I will take you through a step-by-step journey of a furniture restoration project, from start to finish in hopes this will inspire YOU to try a project out for yourself, too!
I’ve also included a link to my Amazon Storefront, where you will find my personal favorite tools and materials I like to use for furniture restoration projects.
DISCLOSURE: THIS POST MAY CONTAIN AFFILIATE LINKS, MEANING I GET A COMMISSION IF YOU DECIDE TO MAKE A PURCHASE THROUGH MY LINKS, AT NO COST TO YOU. PLEASE READ MY TERMS OF USE POLICY FOR MORE INFO. Thank you for your support of this page!
Step 1: Finding the Perfect Piece
The first and crucial step in any furniture restoration journey is finding the right piece. It could be an antique dresser or a vintage dining table - something that speaks to your soul and style and captures your imagination. Local thrift stores, flea markets, and online marketplaces are great places to start your search.
Step 2: Assessing the Condition

Once you've found the perfect piece, it's time to assess its condition. Look for any structural damage, scratches, chips, or loose fittings. Make a list of all the repairs and restorations required before proceeding. This step will help you plan and estimate the time and resources needed for your project.
Step 3: Cleaning and Stripping
Before diving into the actual restoration process, make sure to thoroughly clean the piece. Remove any grime, dirt, or old paint layers using appropriate cleaning agents and methods. Stripping the old finish is also necessary if you want to apply a new stain or paint.
Step 4: Repairs and Replacements
Address any structural damages and necessary repairs at this stage. This may include fixing loose joints, replacing missing or broken pieces, or repairing damaged veneers. Sand down any rough edges or surfaces to ensure a smooth finish.
Step 5: Sanding and Staining
Sanding is a vital step to create a smooth and even surface. Start with a coarse sandpaper to remove any imperfections, and gradually move to finer grits for a polished finish. Once the sanding is complete, it's time to apply your desired stain or paint. This step is where your creativity can truly shine, as you can choose different shades and finishes to suit your taste and style.

Step 6: Sealing and Finishing
After the stain or paint has dried, it's time to seal the piece. Apply a protective finish, such as varnish or polyurethane, to not only enhance its appearance but also protect it from daily wear and tear. I also really enjoy using furniture wax as a finish, or even a spray clear matte topcoat. Follow the manufacturer's instructions for application and drying time.

Step 7: Upholstery and Hardware


If your piece has fabric upholstery or requires new hardware, this is the stage to undertake those tasks. Reupholstering chairs or couches, or replacing outdated knobs and handles, can dramatically transform the overall look of the furniture.
Step 8: Final Touches
The final step of your furniture restoration project is giving it those finishing touches that make it truly yours. Consider adding decorative elements like stencils, decals, or hand-painted designs to add a unique touch. Be sure to let your creativity flow and make the piece reflect your personal style.

Conclusion
Furniture restoration projects can be both a labor of love and a means of preserving history. A way to bring back a memory or start a new one for years to come. With careful planning, patience, and attention to detail plus a willingness to just try something out, you can bring a forgotten piece of furniture back to life that can serve both purpose and style for you in your home. Restoring old furniture not only adds character to your space, but it also offers a sense of satisfaction and accomplishment that really just cannot be replicated. So, don't hesitate to dive in to your own restoration project and enjoy the transformation of a cherished piece that will be enjoyed for years to come!
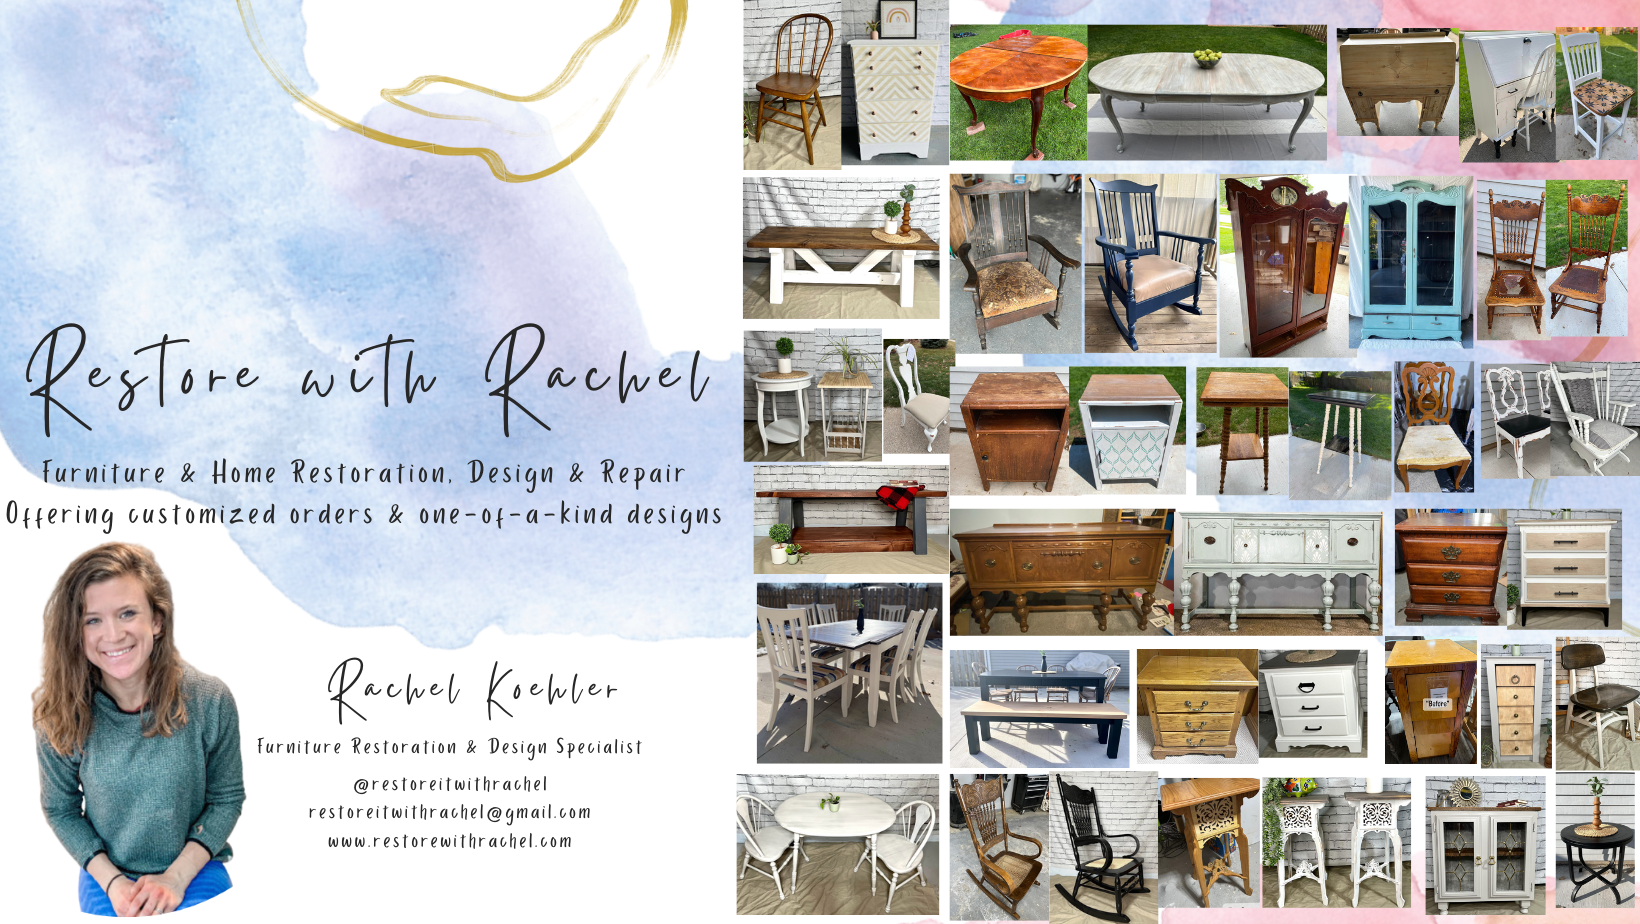
If you’re looking for a piece to call your own that’s already finished, please consider checking out my “Furniture for Sale” page, or if you’d like help with a custom piece, please reach out to me directly to chat about options!
Please like, share and follow to keep this adventure going strong!
Thanks for looking!
-Rachel